
Last updated November 2, 2026
 Sweep & inspection
 Caps & crowns
 Flue relining
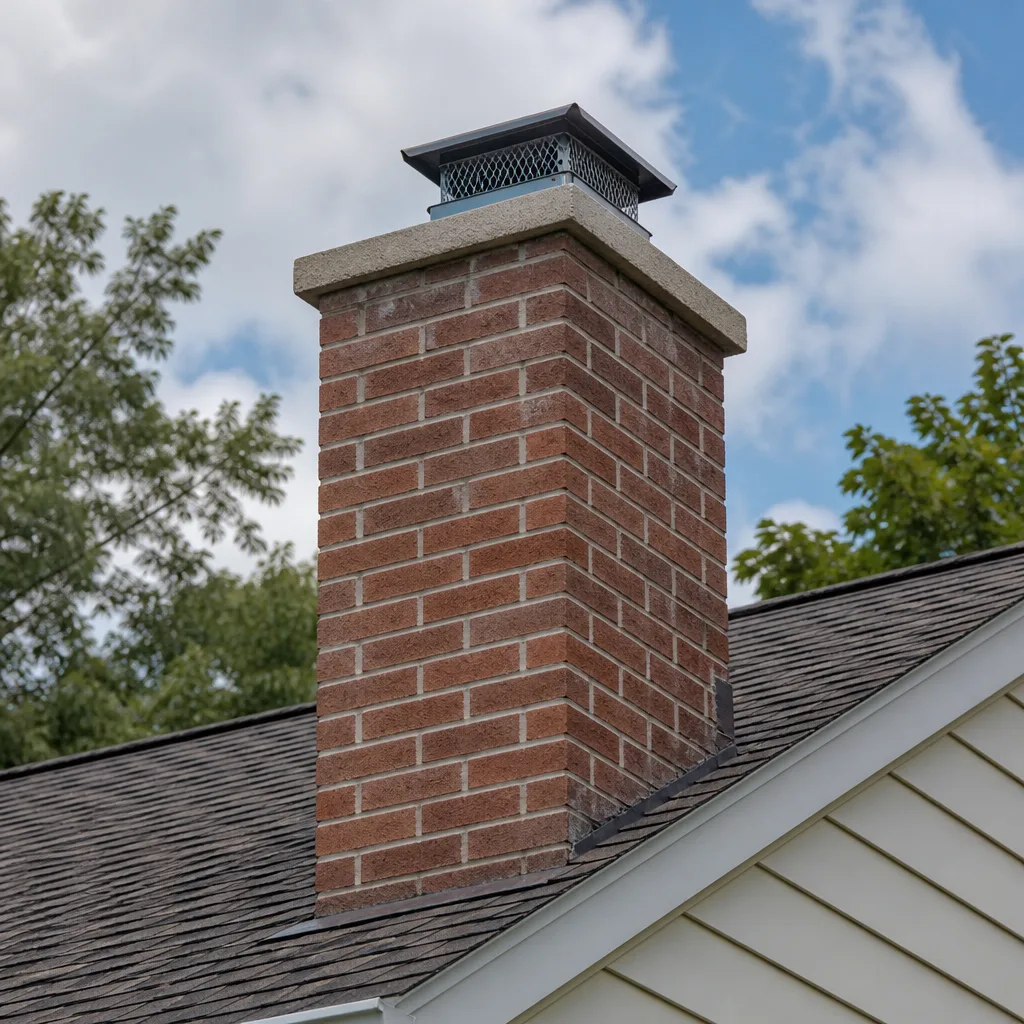 Masonry repair
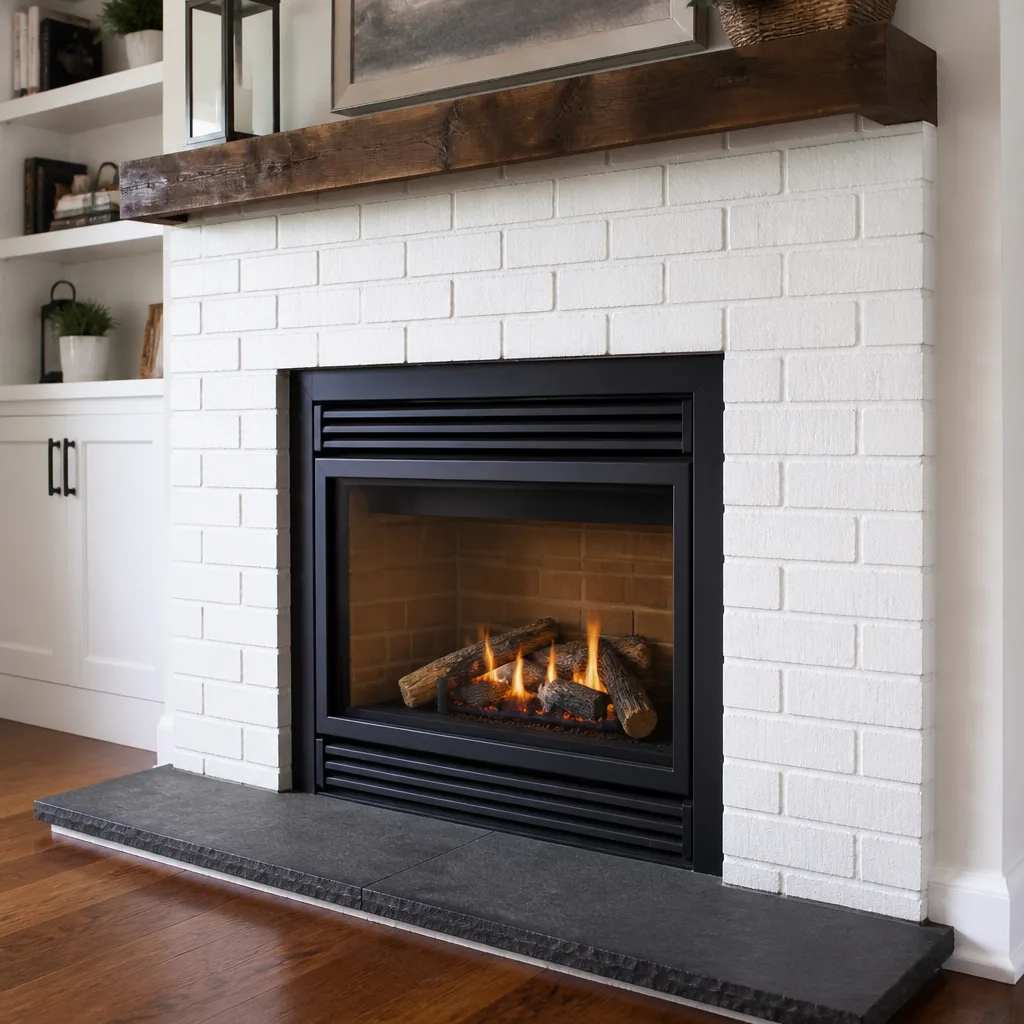 Gas fireplace service
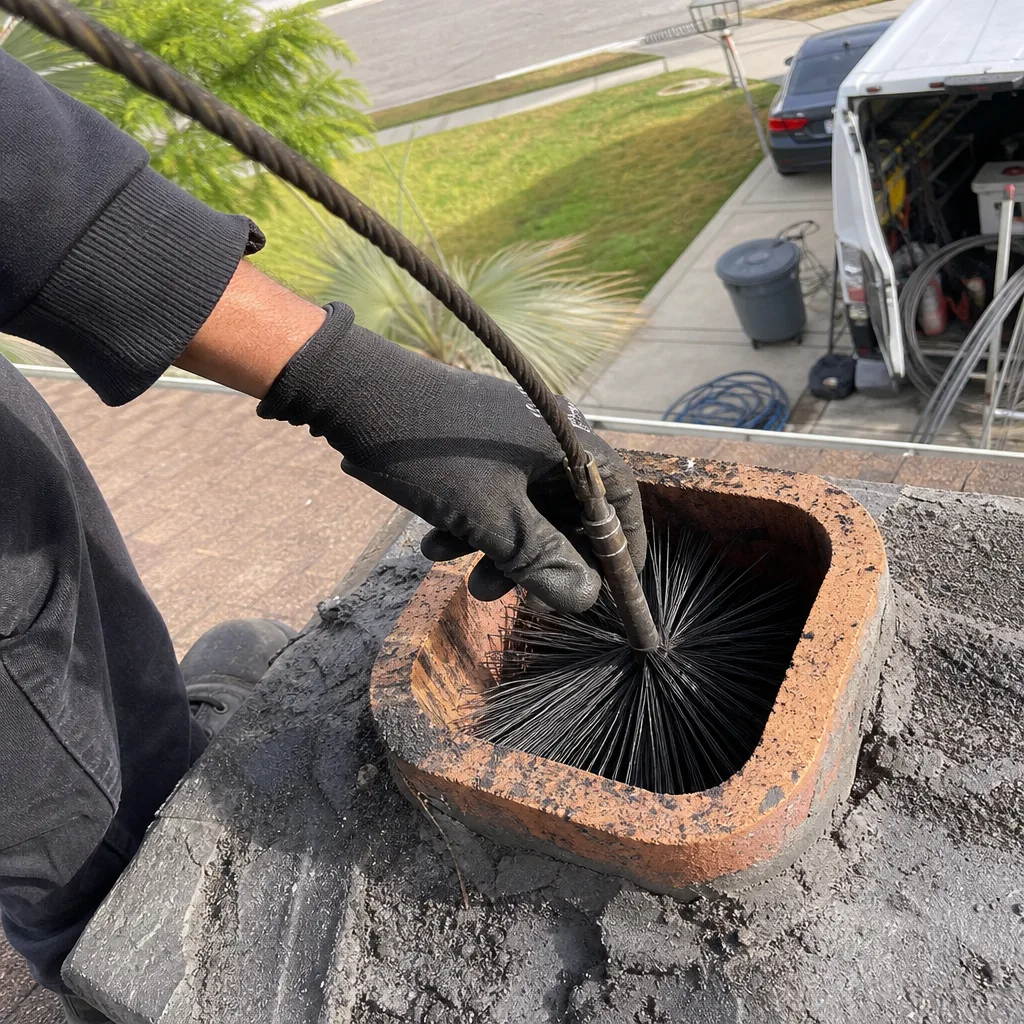
Level 1 sweep and inspection to the NFPA 211 annual standard - flue, crown, cap, and flashing checked and photographed
Chimney sweep logs do not sweep chimneys. They loosen some creosote - which then falls where a brush and vacuum still have to collect it.
Chimney Sweep Troubleshooting: Common Problems and How to Fix Them
Smoke backing into the room is the symptom homeowners panic about most, but in roughly 40% of our service calls in Menifee, it has nothing to do with the chimney itself. The real culprit is house pressure: an exhaust fan running, an HVAC return pulling air, or a building envelope so tight the fire can’t get the oxygen it needs. This guide teaches you to read the actual evidence before calling anyone. You’ll learn the diagnostic sequence a trained Chimney Sweep uses, how to identify creosote by sight, what summer sulfur smells actually mean, and which cracks matter versus which ones can wait. By the time you finish, you’ll know whether you’re looking at a $200 fix, a $2,000 fix, or a problem you can solve yourself in ten minutes.
Quick Answer
Chimney problems fall into three categories: draft failures (smoke, odor, cold flue), deposit problems (creosote, soot, glazing), and structural defects (cracks, spalling, liner damage). The fix depends on which category you’re dealing with, and misdiagnosing the category is why generic troubleshooting lists fail. Most draft problems in Menifee homes trace back to house depressurization or cap clearance issues, not the flue itself. Most odor problems are moisture reacting with creosote deposits. Most crack concerns are either cosmetic or structural, and telling them apart takes about 30 seconds of visual inspection.
Styles & brands we work with
- Sweep & inspection
- Caps & crowns
- Flue relining
- Masonry repair
- Gas fireplace service
Table of Contents
- The Three-Step Draft Test: Isolating Structural, Operational, and Atmospheric Causes
- How to Identify First, Second, and Third-Degree Creosote by Sight
- The Sulfur Smell Question: Summer Moisture vs. Winter Backdraft
- Hairline Cracks, Spalling, and Mortar Joint Failure: What You’re Actually Looking At
- Why Hydraulic Cement Is the Wrong Fix for Firebox Cracks
- Liner Damage: When Resurfacing Beats Replacement
- The Dryer Vent Connection: Combustion-Exhaust Safety Beyond the Chimney
- Common Mistakes to Avoid
- When to Call a Professional
- Frequently Asked Questions
The Three-Step Draft Test: Isolating Structural, Operational, and Atmospheric Causes
Before any tool touches a chimney, a trained sweep runs what we call the three-step draft test. It separates structural problems from operational habits from atmospheric conditions. Here’s the sequence, in order:
- Cold flue test. Open the damper fully and hold a lit match or lighter inside the firebox near the damper opening. If the flame pulls toward the flue, the flue is drawing. If it wavers or stays vertical, the flue is cold and needs preheating. In Menifee’s mild winters, a cold flue is the single most common cause of first-light smoke. The fix is simple: hold a rolled newspaper torch near the damper for 60 to 90 seconds before lighting the main fire. No tools required.
- House pressure test. Open a window or exterior door near the fireplace and see if the draft improves. If it does, the problem isn’t the chimney. It’s depressurization. Kitchen exhaust fans, bathroom fans, clothes dryers, and central HVAC systems all pull air out of the house. When they run, they compete with the fireplace for the same air supply. The chimney loses. In newer Menifee homes with tighter construction, this competition is worse because less outside air can infiltrate to replace what the fans pull out. The fix: crack a window when burning, or have a makeup air solution assessed.
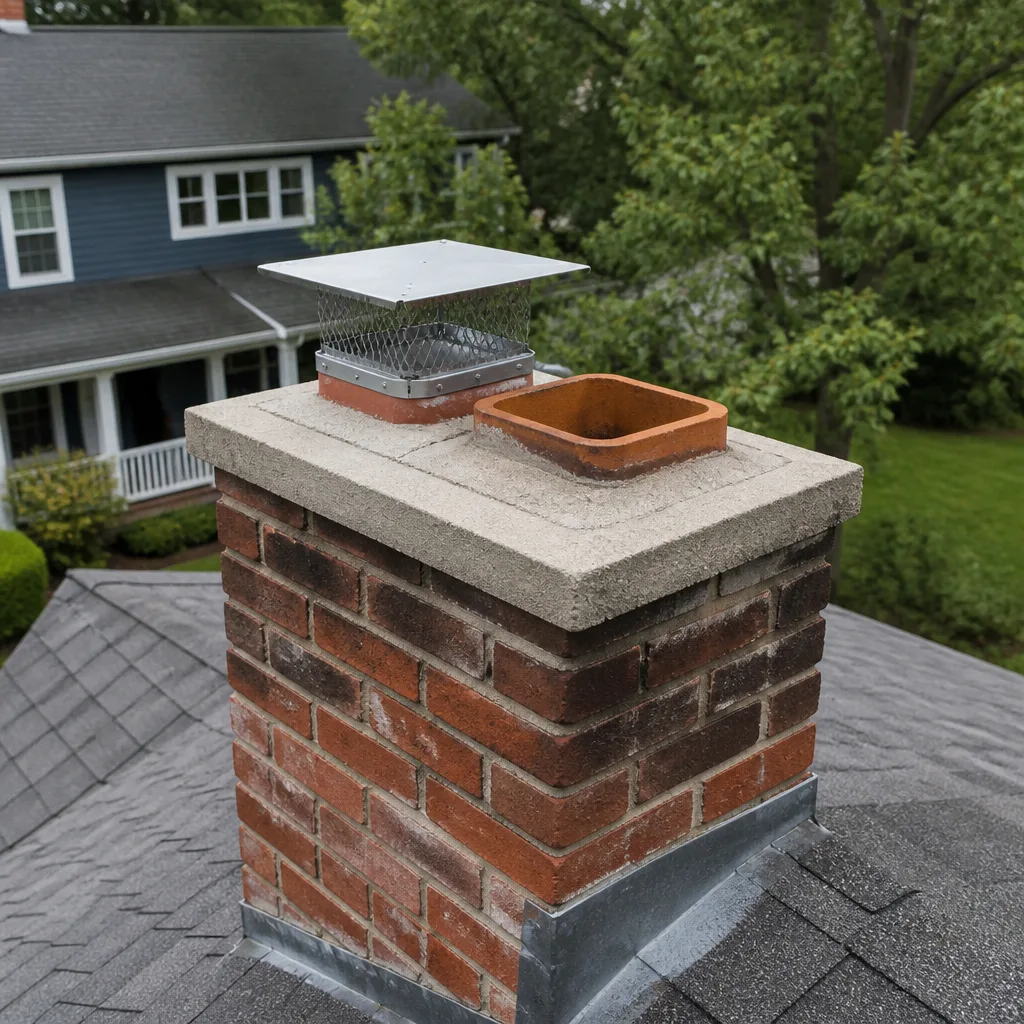
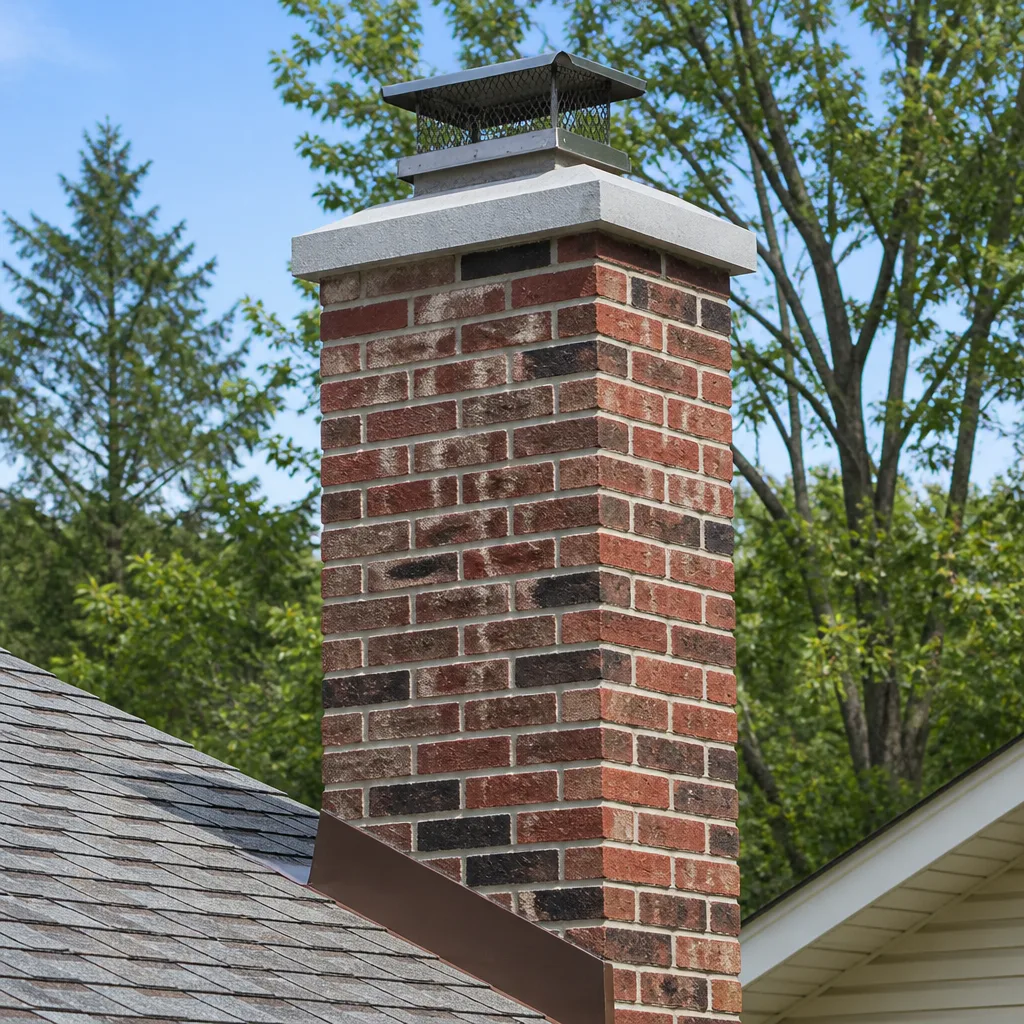
- Cap clearance test. Look at the chimney cap from the ground. Is it clogged with debris? Is it cracked, rusted through, or missing entirely? A plugged cap starves the flue of its discharge path. In Menifee, spring winds carry desert dust and bird nesting material into uncapped flues regularly. A Gelco cap with proper mesh sizing keeps debris out while preserving the full draft path. If the cap is sound and the flue still won’t draw after steps one and two, the issue is structural: an obstruction, a liner problem, or a flue sizing mismatch.
No amount of expensive repair fixes a house pressure problem. No amount of window-cracking fixes a collapsed liner. The sequence matters because each step rules out a layer of possibility before you spend money on the next one.
How to Identify First, Second, and Third-Degree Creosote by Sight
Creosote forms when wood smoke cools and condenses on the flue walls. It is not one substance. It is three distinct materials, and each requires a different approach. The visual difference is unmistakable once you know what you’re looking for.
First-degree creosote looks like fine black dust or a light gray film. It brushes off easily with a standard chimney sweep. This is what builds up from hot, efficient fires burning seasoned hardwood. A routine annual sweep removes it without complication. If your flue has first-degree creosote and nothing else, you’re burning correctly.
Second-degree creosote looks like dark, crusty flakes with a rough, almost sandpaper texture. It has begun to harden but still responds to mechanical brushing. This forms when fires burn cooler, often because the homeowner damps the fire down for overnight burns or burns wood with higher moisture content. Second-degree creosote is the most common deposit we find in Menifee fireplaces used through the winter. Standard sweeping handles it, though it may take more passes than first-degree.
Third-degree creosote is a different animal entirely. It looks like a hard, shiny glaze: black and reflective, similar to a charcoal surface that has melted and resolidified. This is concentrated tar, and it is what fuels chimney fires. Third-degree creosote forms when flue temperatures stay low enough that smoke condenses heavily, then bakes in repeated cycles. It will not come out with standard sweeping. It requires chemical treatment to break down the hardened glaze, followed by mechanical removal. In our experience, homeowners who burn unseasoned wood in Menifee’s mild climate often produce third-degree creosote faster than they expect because the flue never gets hot enough to stay clean.
The Sulfur Smell Question: Summer Moisture vs. Winter Backdraft
A sulfur or rotten-egg smell in the house sends people to Google, and most of what they find is wrong. The same smell has two completely different causes depending on the season, and the fixes are not interchangeable.
In summer, the smell almost always means moisture reactivating creosote deposits. Here’s what happens: humid air enters the flue, absorbs into the creosote layer on the walls, and the moisture releases the odor compounds trapped in the deposits. The smell travels down the chimney into the house. Menifee’s summer humidity spikes in late July and August make this a predictable seasonal complaint. The fix is not deodorizer. It’s a thorough cleaning to remove the creosote that is hosting the odor. Once the deposits are gone, the smell is gone. Chimney Sweep Menifee handles this every summer, and the solution is the same sweep we perform in the fall.
In winter, a sulfur smell with an active fire means something different: backdraft from a gas appliance. The odor may not be coming from your fireplace at all. It may be a gas water heater or furnace venting into the house instead of up its flue because the chimney is pulling air down instead of exhausting up. This is a combustion-exhaust safety issue. The gas appliance’s flue gases contain sulfur compounds, and if the fireplace fire creates enough negative pressure or the gas flue is compromised, those gases enter the living space. This one is not a DIY fix. It needs an inspection of both the fireplace flue and the gas appliance venting. The root cause is often a partially blocked connector or a flue that has lost its draft due to corrosion.
Same smell, two different mechanisms. If you notice it, note the season and whether the fireplace or the water heater is running. That single piece of information changes the diagnostic path entirely.
Hairline Cracks, Spalling, and Mortar Joint Failure: What You’re Actually Looking At
When a homeowner calls us and says “I have cracks in my chimney,” they usually mean one of three visually distinct things. Knowing which one you’re seeing changes the urgency and the fix.
Hairline cracks are thin, surface-level fissures in the firebox refractory panels or the exterior brick face. They’re typically the width of a pencil line or smaller. In the firebox, hairline cracks form from normal thermal cycling: the refractory expands when hot and contracts when cool. They are generally cosmetic and do not require repair unless they widen to roughly the thickness of a nickel. On exterior brick, hairline cracks often trace the mortar joints rather than the brick itself.
Spalling is different. Spalling means the brick face is flaking, chipping, or shedding: pieces of the brick surface have fallen away, leaving a rough, pitted area behind. Water is the cause. Moisture gets absorbed into the brick during Menifee’s winter rains, and when temperatures fluctuate, the absorbed water expands and contracts, eventually destroying the brick’s surface. Spalling is progressive. It does not stop on its own, and it signals that water management around the chimney needs attention: a proper cap, correct flashing, and possibly water repellent treatment.
Full mortar joint failure is the most serious of the three. You’ll see gaps where mortar has completely fallen out between bricks, empty joints that let water and cold air pass freely into the chimney structure. This is not a cosmetic concern. The chimney’s structural integrity depends on intact mortar joints holding the brick mass together. When joints fail, sections of the chimney can shift. The repair is repointing: removing the degraded mortar and packing the joints with fresh material matched in strength to the original.
When you call to describe what you’re seeing, use these terms. “I have hairline cracks around the firebox panels” tells us one thing. “The mortar is missing between bricks on the outside” tells us something else entirely, and it changes which technician and materials we bring.
Why Hydraulic Cement Is the Wrong Fix for Firebox Cracks
A handyman will patch a firebox crack with hydraulic cement because it’s cheap and fast. A chimney specialist will not. Here’s the technical reason why.
Hydraulic cement is designed for below-grade applications where water is actively flowing. It sets hard, it sets fast, and it has almost no tolerance for thermal expansion. Fireboxes regularly reach temperatures between 500 and 900 degrees Fahrenheit during a normal fire. Refractory materials: the firebrick and refractory mortar used in firebox construction: are engineered to expand and contract repeatedly through that thermal range without failing. They have a thermal expansion coefficient matched to the firebrick around them.
Hydraulic cement does not. It expands at a different rate than the surrounding refractory, and when the firebox heats up, the patch works against the material it’s bonded to. Within one or two burning seasons, the patch cracks away from the firebrick, taking pieces of the original surface with it. The original crack is now wider than before, and the firebox is in worse condition than it started. We have repaired fireboxes in Menifee where hydraulic cement patches have been applied by a previous handyman, and the pattern is always the same: the patch has separated cleanly from the refractory, leaving a worse gap behind.
The correct material is refractory mortar or a specified firebox repair compound matched to the existing panel composition. Chimney Sweep Menifee uses Olympia Chimney components for firebox work because they’re specified for the thermal environment they sit in. It costs more on the front end and saves a repeat repair on the back end.
Liner Damage: When Resurfacing Beats Replacement
The flue liner is the chimney’s exhaust pipe. When it’s compromised, the chimney cannot safely vent combustion gases, and every fire becomes an elevated risk. Liner damage shows up in three common forms: cracked clay tile sections, deteriorated mortar between tile joints, or full deterioration where the liner has collapsed or separated.
For years, the default answer to liner damage was full replacement: tear out the old liner and install a new one. That’s still the right answer in some cases, particularly when the existing flue has severe offset angles or the old liner has collapsed. But it’s no longer the only answer.
Chimney Sweep Menifee is HeatShield-capable, which means we can resurface a damaged liner instead of replacing it in many situations. The HeatShield system applies a cerified refractory coating to the interior flue wall, filling cracked joints and restoring a continuous, insulated surface inside the existing structure. We specify HeatShield because it preserves the original flue path while eliminating the gaps where heat and gas escape. The process is less invasive than full replacement, requires no demolition, and costs roughly half to two-thirds of what a full tear-out liner job runs, depending on the flue condition.
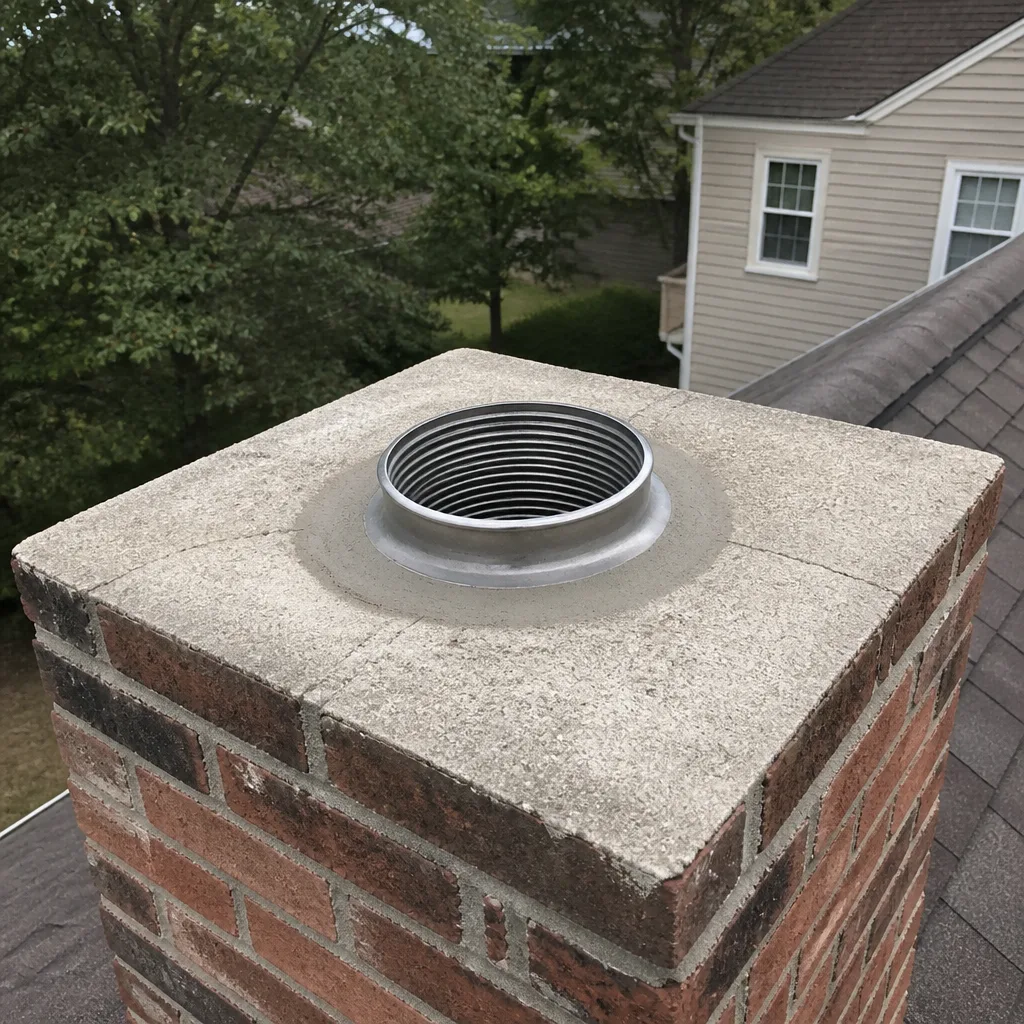
When the existing flue configuration is non-standard, with bends, offsets, or unusual dimensions, we specify chimney repair in Menifee with DuraFlex flexible liner systems. DuraFlex handles the turns that rigid liners cannot, and it’s a recognized material in the industry rather than a generic substitute. The point is this: liner damage has more than one correct fix, and the right one depends on what the existing flue actually looks like. Know what’s going into your flue before you agree to any repair plan.
For Menifee homeowners dealing with liner issues, the first step is a camera inspection. We do not recommend liner work without video evidence you can see for yourself. If the camera shows minor joint separation and otherwise intact tile, resurfacing is likely appropriate. If it shows collapse, replacement is the only safe path. The visuals tell the truth.
The Dryer Vent Connection: Combustion-Exhaust Safety Beyond the Chimney
A chimney sweep troubleshooting guide might seem like an odd place to talk about dryer vents. But combustion-exhaust safety is a single discipline, and a dryer is a combustion-exhaust appliance. It burns fuel, produces exhaust, and vents it outside. When that vent clogs, the exhaust backs up, and the appliance becomes a fire hazard.
Dryer lint is the most flammable material in most homes, more flammable than creosote by volume. It builds up in the vent pipe over years, restricting airflow, raising dryer operating temperatures, and creating conditions where a single spark can ignite the entire vent run. The dryer vent cleaning in Menifee that we perform is a fire-prevention service, not a convenience add-on. It follows the same logic as a chimney sweep: remove the combustible deposits before they become a problem.
One call covers sweep, repair, and dryer vent. That’s the reason we built the service this way. When we’re already at a Menifee home for a chimney inspection, the dryer vent is thirty minutes of additional work that closes a different combustion-exhaust hole in the same envelope. Homeowners who burn wood and run a gas dryer are operating two combustion appliances in close proximity, and both need unobstructed exhaust paths.
If your chimney passes inspection but your dryer has been taking longer to finish loads, or the laundry room is noticeably warmer than the rest of the house, the dryer vent is the next thing to check. The symptom pattern is reliable: longer dry times, burning smell near the dryer, lint visible around the vent termination outside. Any one of those is enough to justify a cleaning before the next combustion season.
Common Mistakes to Avoid
- Burning unseasoned wood to save money. Green wood produces more smoke, lower flue temperatures, and faster creosote accumulation. The money saved on wet wood gets spent on more frequent cleanings and, eventually, potential liner damage.
- Ignoring a summer sulfur smell because it fades. The odor may come and go with humidity, but the creosote that hosts it remains. Every humid Menifee summer reactivates the smell until the deposits are removed.
- Patching firebox cracks with hardware-store cement. Hydraulic cement and other non-refractory compounds fail under firebox temperatures and leave the crack worse than before.
- Running kitchen and bath exhaust fans while the fireplace is burning. The fans depressurize the house and pull smoke out of the firebox. This is the number one cause of smoke rollout we see that has nothing wrong with the chimney.
- Closing the damper before the fire is fully out. Smoldering embers still produce carbon monoxide. The damper stays open until the fire is completely dead, not just visually out.
- Using liquid creosote removers as a substitute for sweeping. Chemical products can soften third-degree creosote and make mechanical removal possible. They cannot remove deposits on their own, and they do not replace an annual sweep.
- Waiting for a problem to appear before scheduling a sweep. The cheapest chimney repair is the one you never need. Annual inspection catches liner gaps, cracked caps, and heavy deposits before they become emergencies.
When to Call a Professional
If you see third-degree creosote glaze in your flue, hear a crackling noise that sounds like a fire in the chimney, smell sulfur while a gas appliance is running, or notice mortar joints that have completely lost their mortar, stop troubleshooting and schedule an inspection. These are not maintenance items. They are safety failures in progress.
The same applies if your chimney has not been swept in more than two years, regardless of symptoms. Deposits accumulate even when fires burn clean, and the only way to know what’s on your flue walls is to look. A camera inspection gives you the visual evidence. From there, the fix is an honest conversation about what the images show. Nothing gets recommended without proof you can see.
Chimney Sweep Menifee offers free estimates in Menifee. Call (866) 538-1538 to schedule an inspection or to talk through what you’re seeing before anyone comes out.
Frequently Asked Questions
A standard chimney sweep in Menifee typically ranges from $180 to $340 depending on the flue condition and the level of creosote buildup. First-degree deposits require one standard pass, while heavy second-degree or glazed third-degree creosote adds time and chemical treatment to the job. Call (866) 538-1538 for an exact quote based on a camera inspection; estimates are free.
The National Fire Protection Association recommends annual inspection and sweeping as needed, and that is the schedule we follow for Menifee homes. Homes that burn multiple fires per week through the winter may need a mid-season check. Homes that burn only occasional fires still need an annual inspection because creosote accumulation is not the only hazard: bird nests, cracked caps, and liner deterioration all occur regardless of usage.
You need a new liner or a resurfacing treatment only if the camera inspection shows the existing liner compromised: cracked tile joints, separated sections, or collapse. If a sweep recommends liner work without showing you the video, ask for it. At Chimney Sweep Menifee, we do not recommend liner work without camera evidence. When the liner has minor joint separation but is otherwise intact, HeatShield resurfacing can restore it at roughly half to two-thirds of replacement cost. Call (866) 538-1538 for a free inspection.
Creosote builds up in layers. First-degree becomes second-degree, then third-degree as the deposits bake and harden. Third-degree creosote is the fuel for chimney fires: a spark or overheated flue can ignite it, and the resulting burn can crack the liner, spread to surrounding framing, or both. The same applies to clogged dryer vents, where lint accumulation becomes the ignition source for a house fire. The annual sweep is the cheapest insurance against a far more expensive repair.
Rain and humidity reactivate the odor compounds trapped in creosote deposits, and the smell travels down the flue into the house. It is most common in Menifee during humid summer weather. The fix is removal of the creosote, not masking the smell. Once the flue is swept clean, the odor source is gone.
Yes. Chimney Sweep Menifee handles the sweep, the repair, and the dryer vent cleaning as a single service visit. It’s the same combustion-exhaust discipline applied to both appliances, and one call covers all of it. Chimney Sweep in Menifee is the consolidation homeowners used to need three different contractors to complete.
The Bottom Line
Chimney troubleshooting is a diagnostic sequence, not a guess. For a full walkthrough, read The Complete Chimney Sweep Guide for Menifee Homeowners. The three-step draft test tells you whether the problem is structural, operational, or atmospheric before you spend a dollar on repair. Visual creosote identification tells you whether a standard sweep will work or whether chemical treatment is necessary. The season and the appliance running when a smell appears tells you whether you’re dealing with moisture or backdraft. Crack identification tells you whether you’re looking at a cosmetic concern or a structural one. And when it comes to the fix, the material matters: refractory mortar, HeatShield resurfacing, and DuraFlex liners are specified because they survive the environment they sit in. Know what’s going into your flue, see the evidence before you agree to work, and call (866) 538-1538 when the diagnosis points past what you can see from the firebox floor.
Written by the team at Chimney Sweep Menifee, serving Menifee since 2011.
See the difference
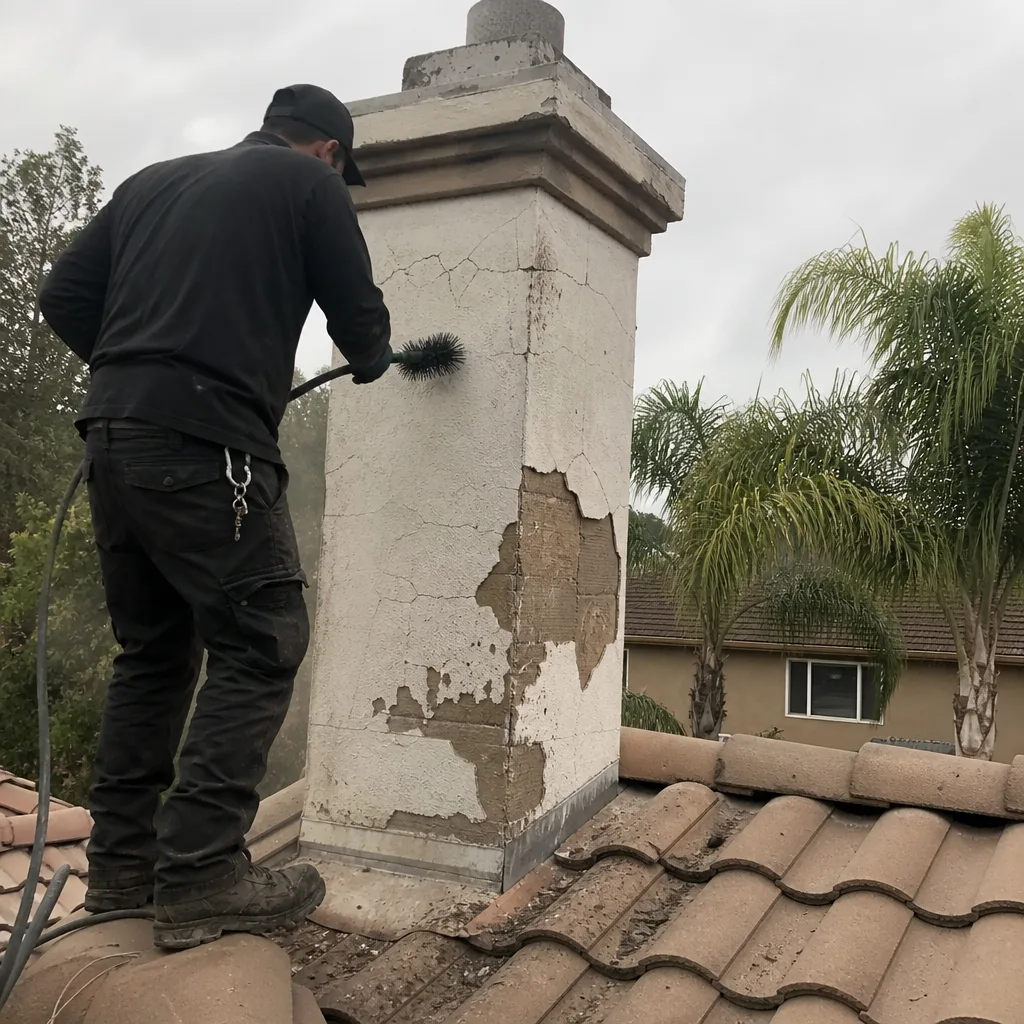 Before
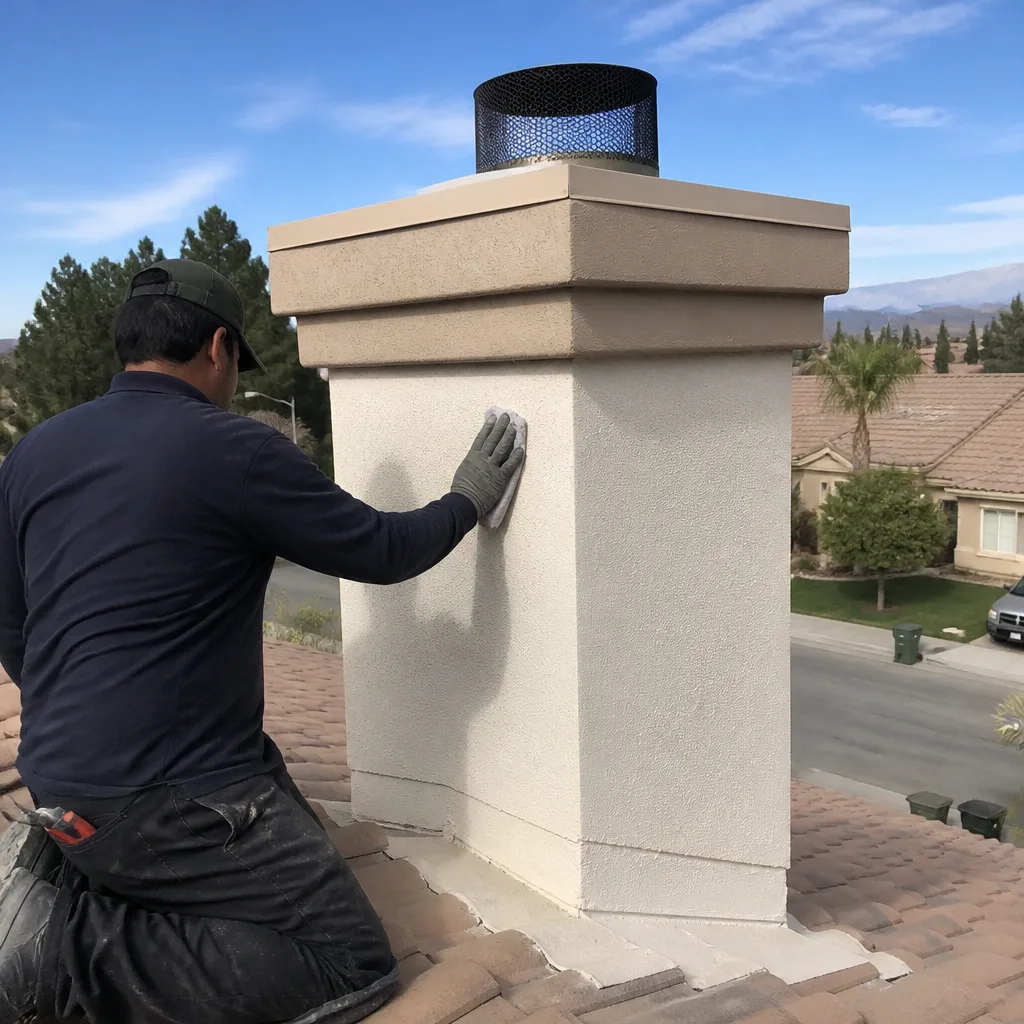 After
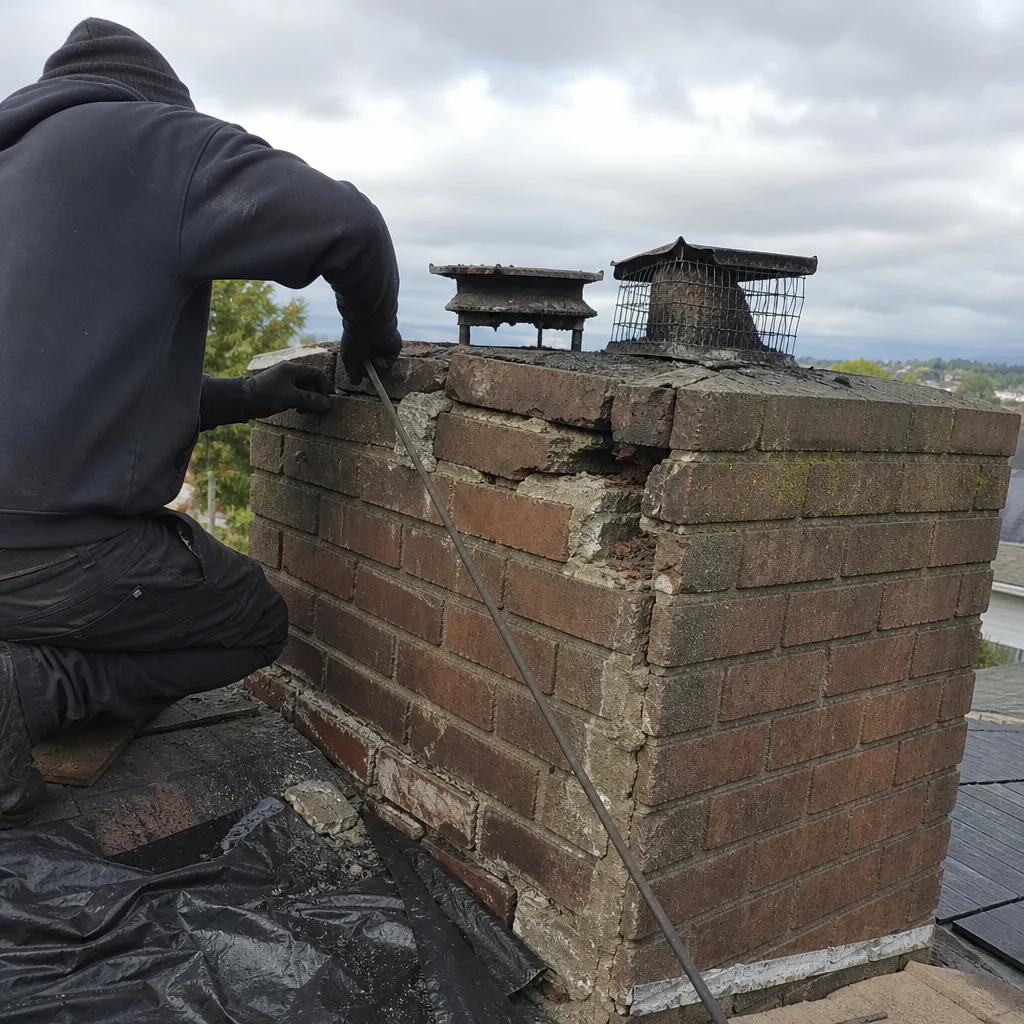 Before
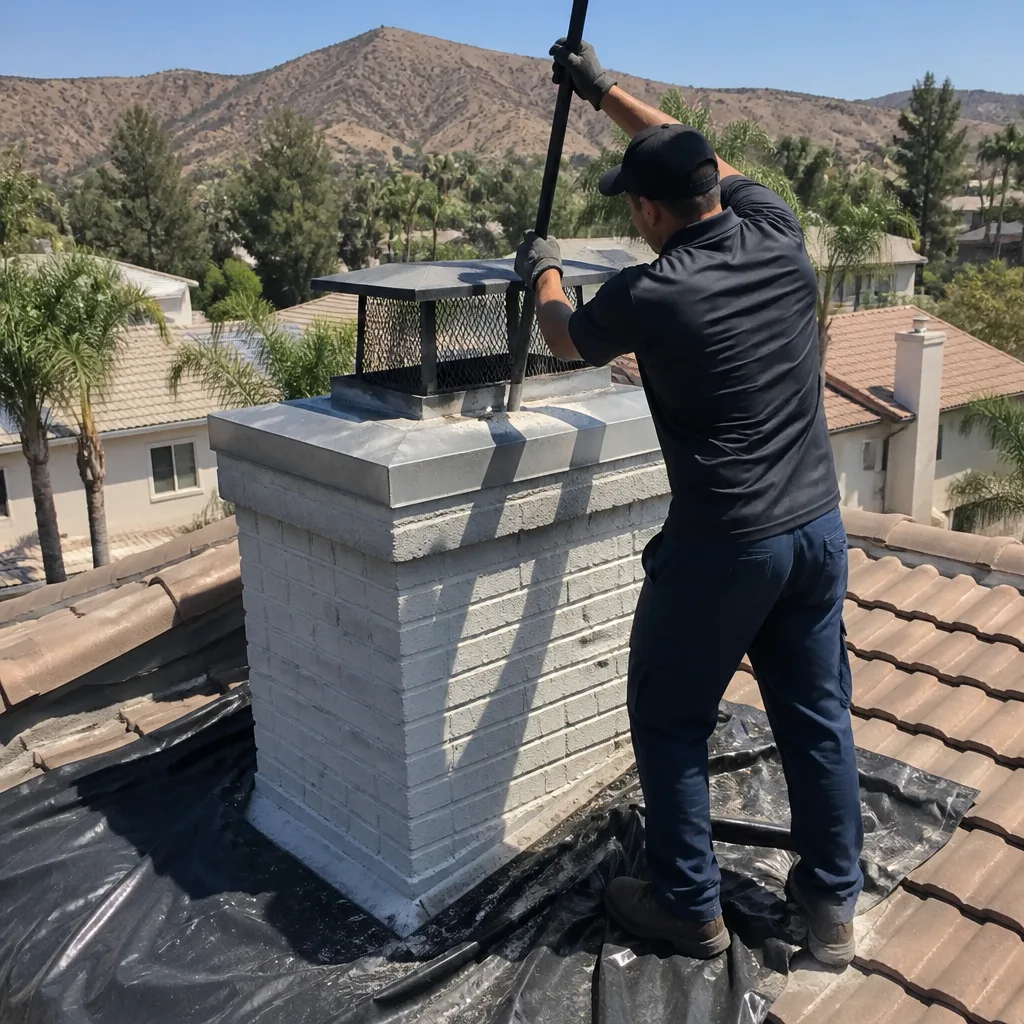 After
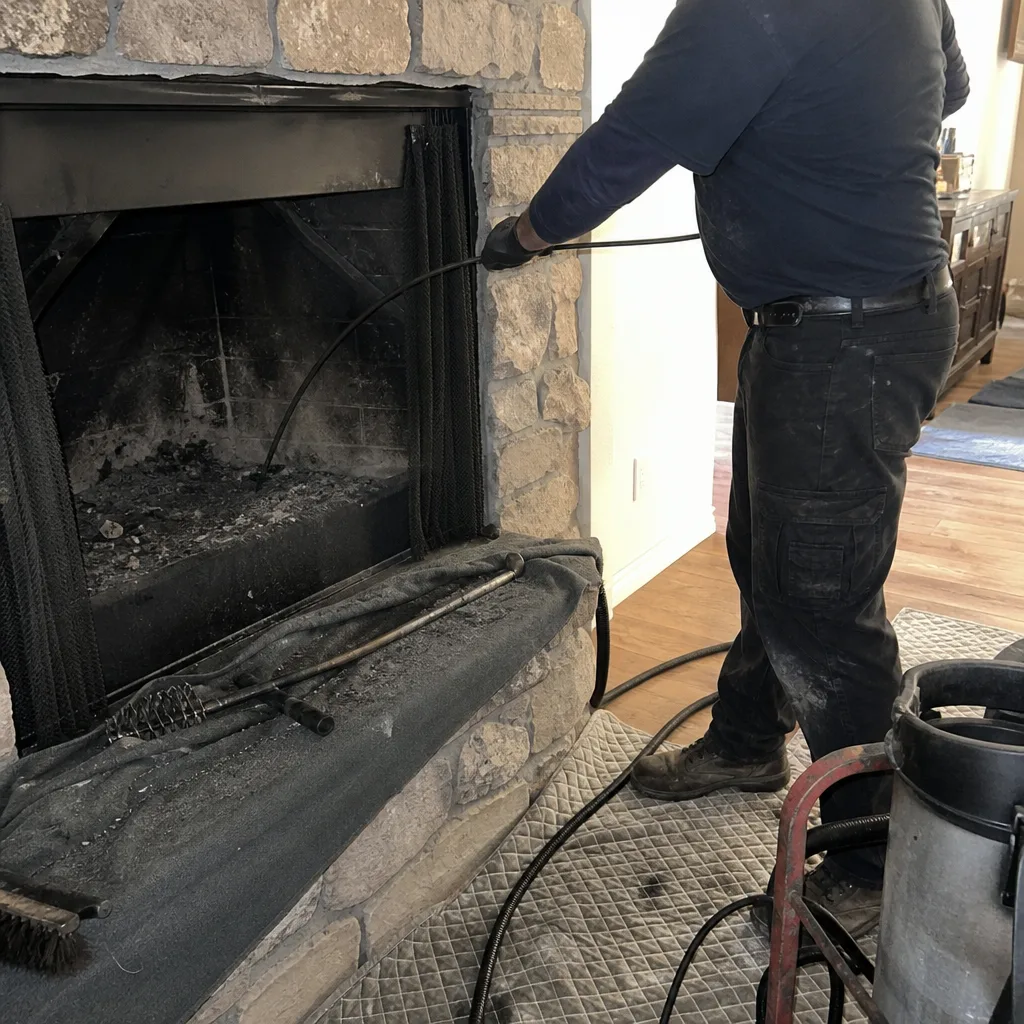 Before
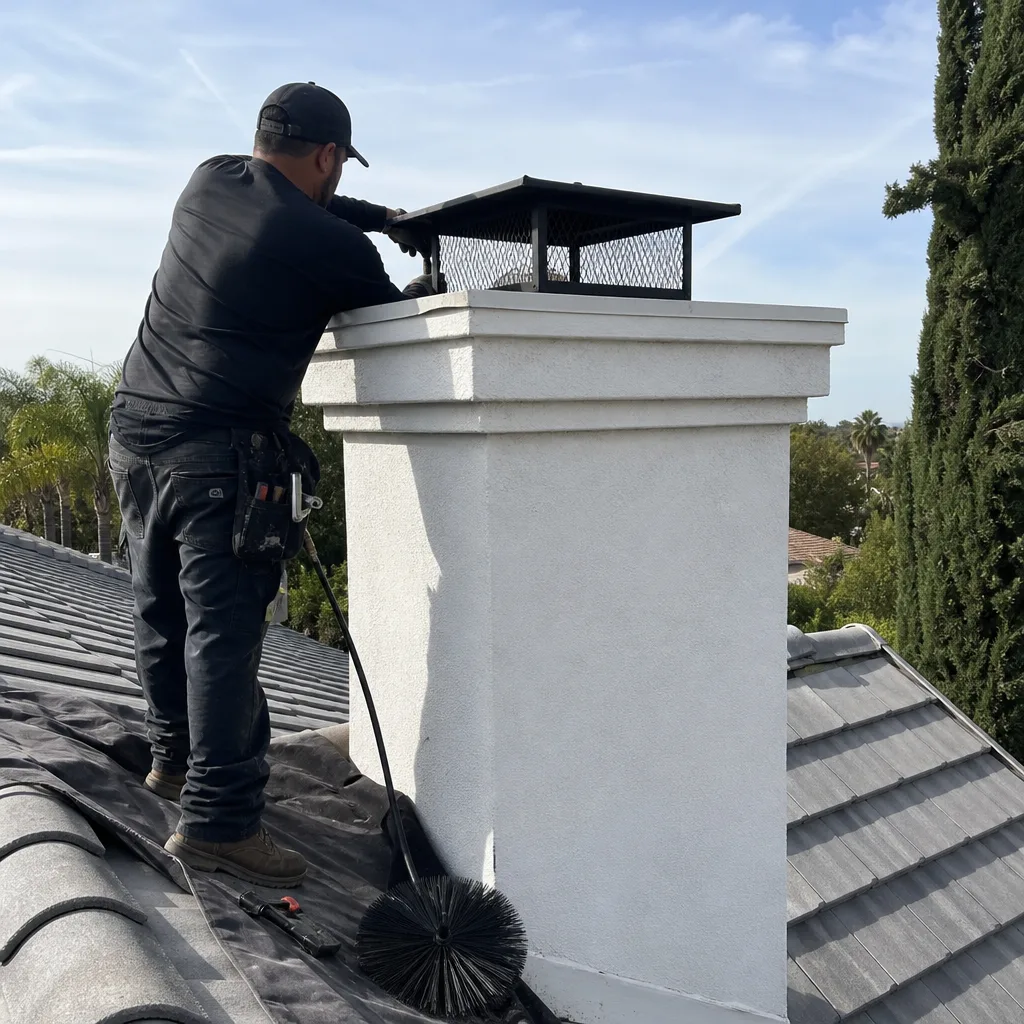 After